19.5.14

Hi all beautiful people!


My latest obsession is this bed spread, that I'm getting supplies for as we speak! It's a time-consuming project, but the result is such a beaut that I just can't resist. If you're like me, you'll look at this bed spread first and go… meh. Too girly. Hang in there - I thought so too - but give it a second glance. Imagine it in a different colour. Give it a day or two, then look at it again. Growing on you?

This bedspread was inspired by an Anthropologie one, that clocks in at about five times the price of making one yourself. Kodjo Designs made one and have a beautiful tutorial - find it here!


16.5.14

DIY Tissue Box

Hello everyone!


I hope you've had a great week, and you're looking forward to the weekend as much as I am. I want to share with you my latest obsession, one of the reasons I'm looking forward to the weekend… Time to DIY!

This lovely tissue box was made by the creative genius Ashely over at 'Make it - Love it' and I can't wait to make own myself! No more ugly tissue boxes cluttering the house. To the sewing machine!

Find the tutorial here!

Picture from http://www.makeit-loveit.com/2014/04/fabric-tissue-box-cover-with-grommet-opening.html

8.5.14


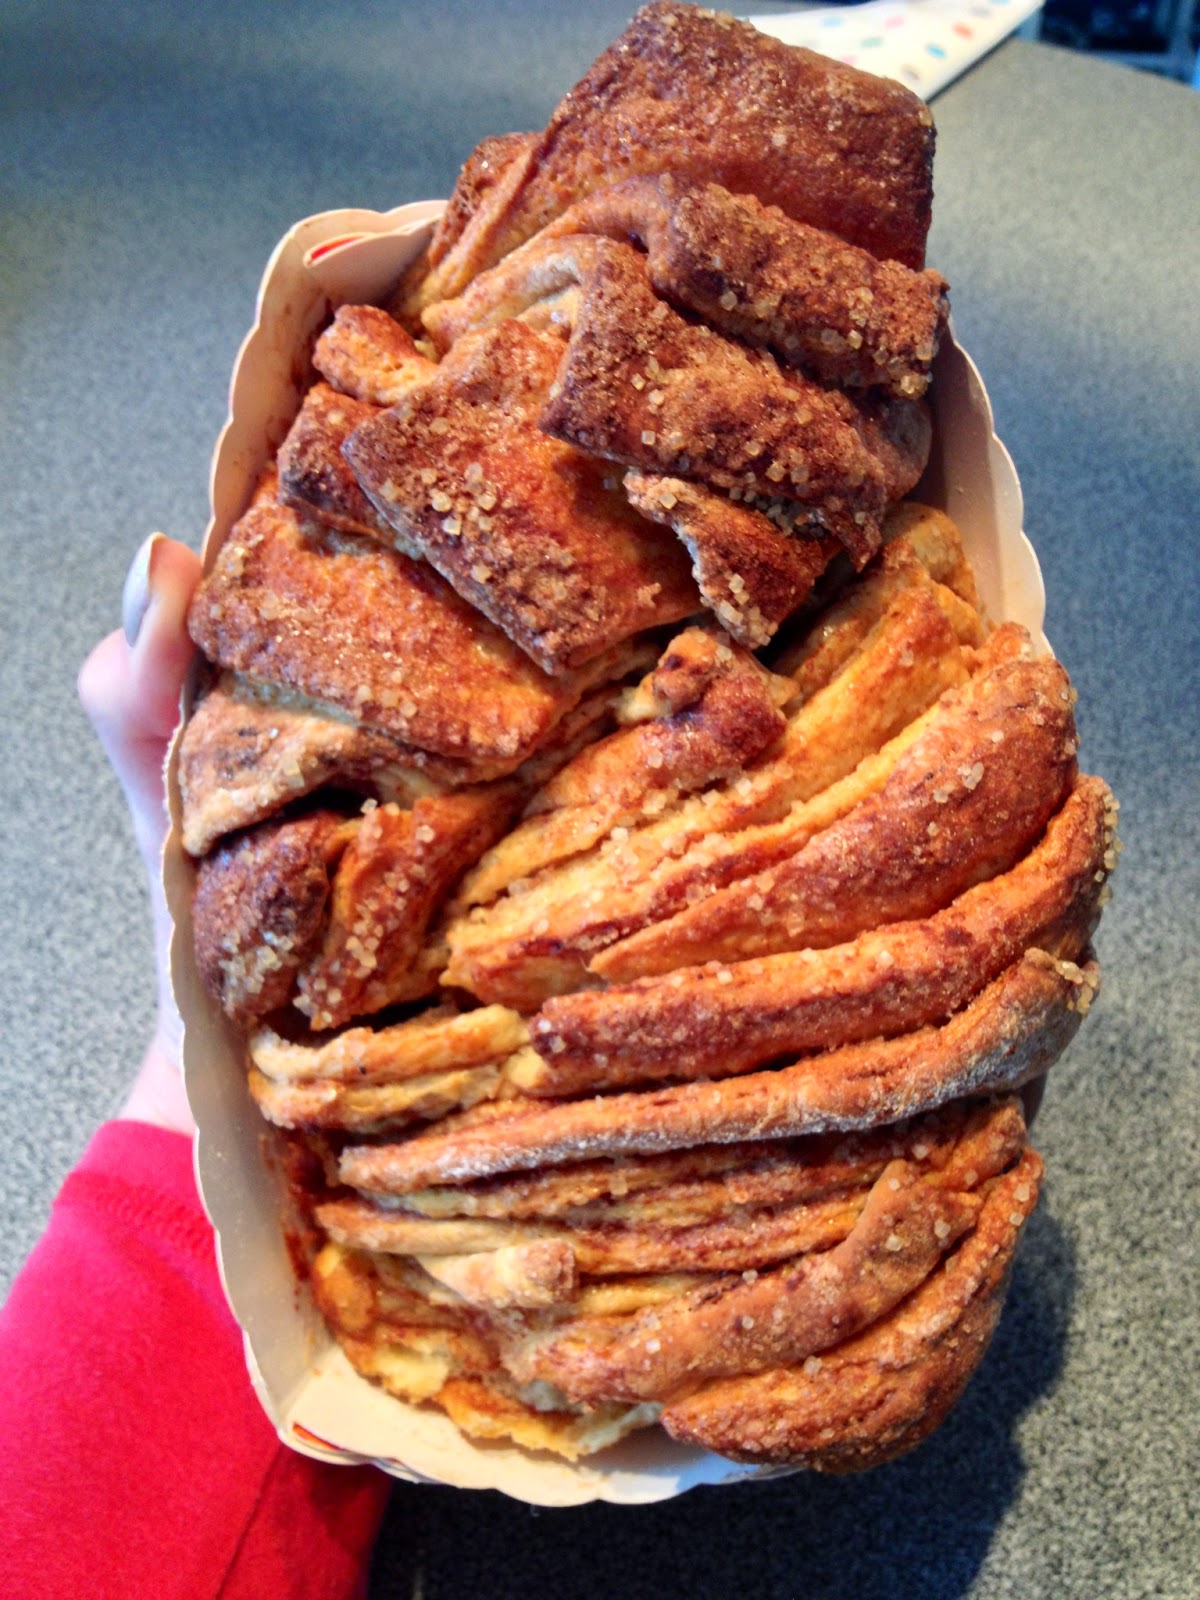
Cinnamon Pull-Apart Bread


…is my new name for heaven. This bread, or should I say little cloud of delight, is to die for. It makes everyone I serve it so swoon, including myself, and is just the right amount of spongy and sweet. It's fun to make, even more fun to eat. It's one of those win-win-win-win-win types of recipes, apart from your waistline. Look at this beauty! 

The recipe can be found at Joy the Bakers. She really is amazingly talented. Find the recipe here!


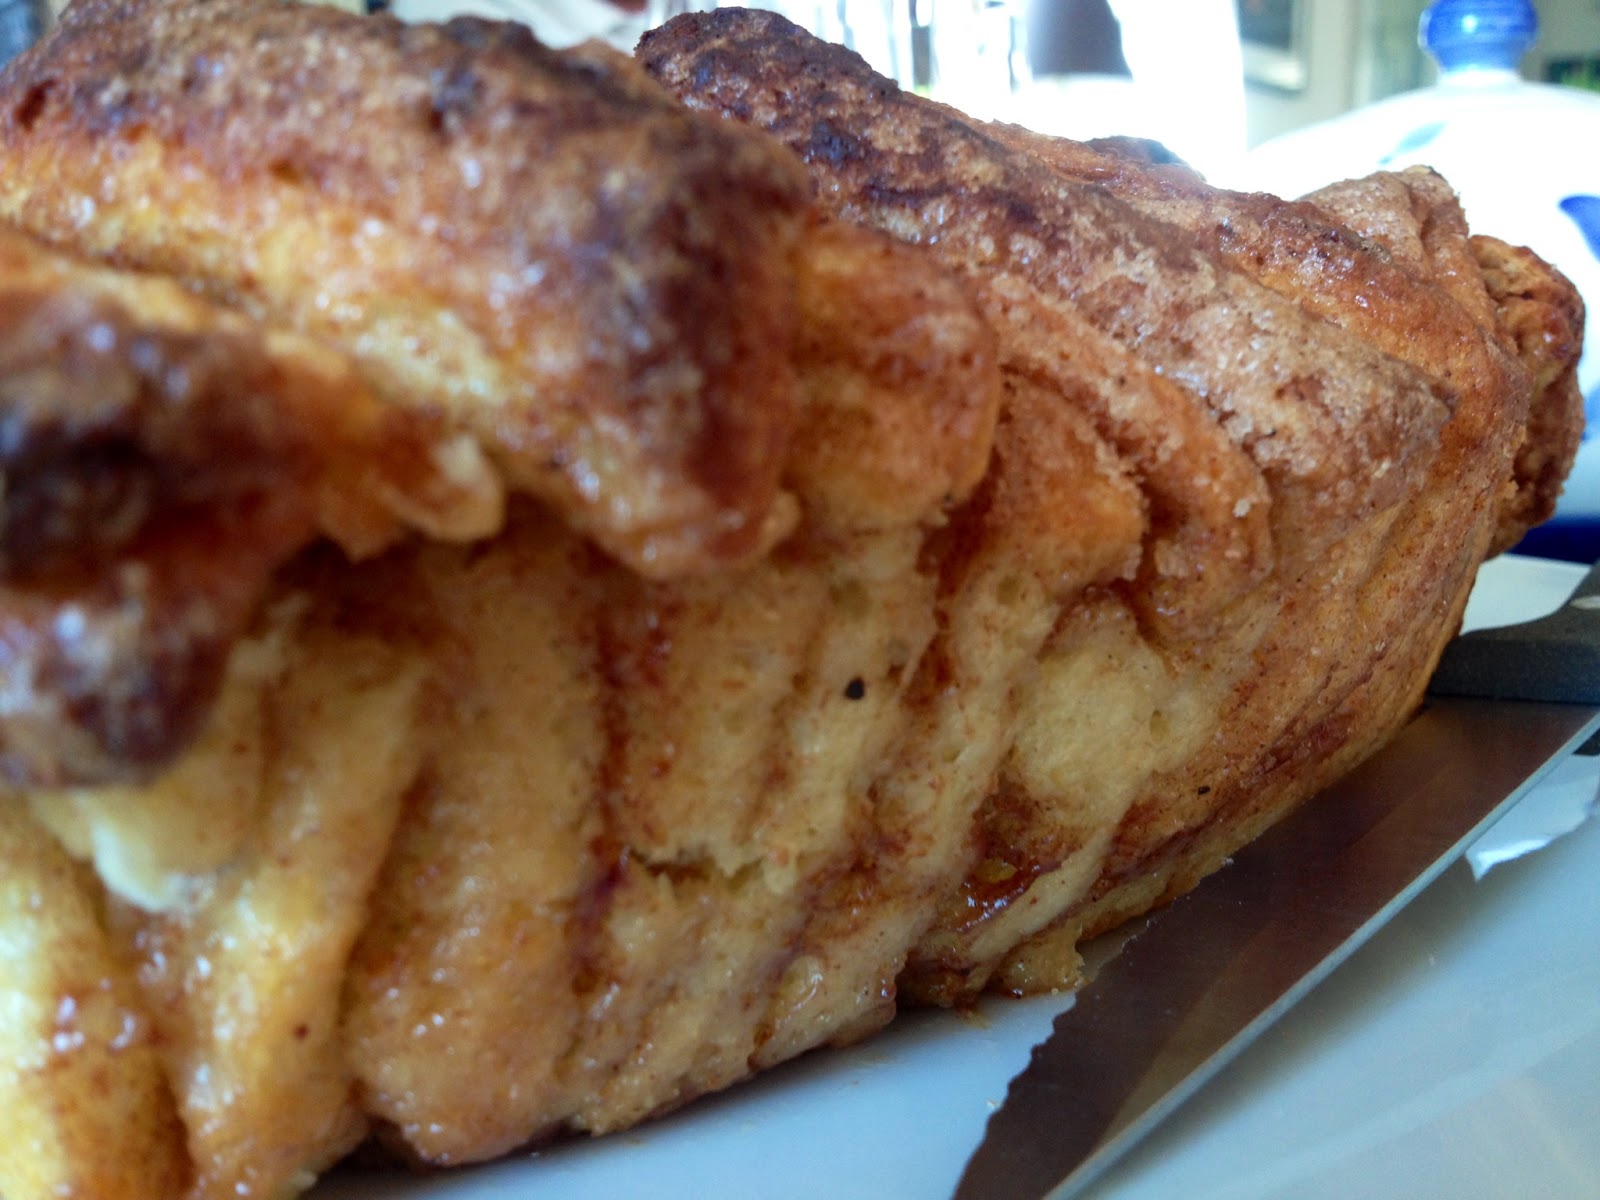
Look at those soft layers!


 Needless to say, this was a real crowd pleaser in my household over easter - so much that I'm currently making my fourth loaf. It goes quickly, I'll tell you!


Top 5 spring and summer DIYs


When the sun starts to shine brighter, flowers begin to bloom and I start fantasising of Paris, Cannes and Mykonos - you know its spring and summer is just around the corner. While my DIY count is generally lower in the spring and summer, that doesn't mean its at a standstill - spring is a perfect time to update your interior design and clean out old nonfunctioning pieces. These are my top five favourites at the moment, five DIYs I can't wait to do!

The links to all the tutorials, where the photo is from, can be found directly under the photo. These bloggers and DIYers are all amazingly talented!

1. Spiky fortune teller lamp


Allison over at The 3 R's created this amazing lamp, that surprisingly enough is made out of paper! Yep, the title says it all - it's made out of those paper fortune tellers I always used to do as a kid. Amazing!


2. Holder for a cellphone and its charger - made from a lotion bottle!


I absolutely love this DIY - it's truly one of those perfect examples of making practical and beautiful pieces for nearly zero cost. Will be making this very, very, veeeery soon! 

UPDATE: I made this literally five hours after making this post. Photo coming soon!


3. Flutter curtains knock-off from Antropologie


This DIY completely blew me away. These curtains remind of something from a fairly tale, or a beautifully and whimsically decorated nursery. I want to do these in a heart beat - if it weren't for the tremendous amount of labour included, that is. I'm trying to convince myself though! Would be perfect for spring and summer, and in the winter this might remind one of falling snow. I love it!


'

4. Felt circle pillows


Spring is the season of pop colours, and this DIY is a tribute to this. I love the look of this pillow, and will definitely attempt to recreate it soon!


5. DIY Wire Baskets 


This really is one of those super-pretty DIYs for the home that just also happens to be incredibly cheap and useful. I will definitely do this, they look amazing! I love that industrial-meets-leather look.


And that's it, folks! I hope these DIYs inspired you as much as they have me - and have you running for the thrift shop or the hardware store for supplies!

Stay crafty,
xoxo

31.8.13

DIY Abstract Art


I love art. In a very, non-pretentious, I-actually-don't-understand-the-true-meaning-of-a-colour-blob type of way. I like art history, but not for more than about 10 minutes, and while I've seen Dali's and Picasso's in real life, I don't necessarily lust for similar pieces in my own home. It's there to be pretty, and I don't like spending a lot of money on it. That's why this project fits me like a glove.  

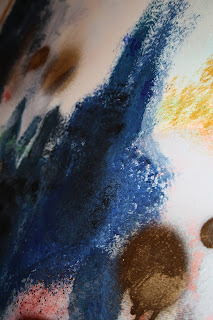
Pretty, nonsensical and colourful, you can't go wrong with this DIY! Grab a canvas, a few pieces of tissue paper, some brushes and some colours, and get started. I chose to use a deep blue, grey, gold with light red accents, and created a surprisingly sophisticated array of coloured blobs. Very pretty coloured blobs, which just happen to fit right into my bedroom!


MATERIALS

  • A canvas. Mine measured 65 x 90 cm.
  • Acrylic paint.
  • A collection of brushes (I used four)
  • Gold spray
  • Acrylic fixture spray. 

1. Start of with covering the surface you wish to work on in either newspaper or plastic wrap to make sure you don't accidentally colour outside of the lines, if you know what I mean. I painted my canvas while it was lying on the floor, which my back thankfully reminded me after about 30 min was a bad idea. I recommend you use an easel or tilt it on a table against a wall, to avoid the same problem.


2. Start off with the larger areas, using light colours. Remember, you can always make it darker but making it lighter isn't as easy. I used a light grey in several areas, and decided to pat my painbrush against the canvas to create a rough, interesting surface. Use your imagination!

3. Then I continued, mixing a dark blue (my intention was actually navy - don't judge!) and added that. Once again I didn't like how it looked, so I added some pure black and white to it to add more depth.

4. Next I added light red, then a bit of mint green in interesting patterns across on the left side and in the top right. It's all about creating an interesting and surprising effect!

5. Carrying on to a golden ochre colour, adding patches here and there. I used the patting method several times to create the more interesting texture, then carried on to making small black dots here and there. 

6. Finally I took the painting outside and used gold spray pain, making several golden circles and also lightly creating flickers of gold. The gold lightly reflects the light!


7. When it's mostly dry, spray it with a fixing spray for acrylic paint - this will make sure your creation won't rub off on anything!! 

Me, the impatient soul that I am, let it dry for about 7-8 hours but a good 24 h would probably be much 
more prudent!